The Easiest Outstanding Pecan Pie

1 Comment

The Easiest Outstanding Pecan Pie

What does it mean to celebrate the birthday of a tree? When we celebrate the birthday of our fellow humans, it’s generally to lift up and celebrate what makes each person in our community unique and special. Trees, by contrast, seem to be the opposite of unique; vast forests of essentially identical trees dot the landscape of America. There is a reason why green is the color Disney uses to hide things in plain sight: our brain teaches us to zone out wide swathes of green to focus on more important details in the landscape around us.  

And while the volume of trees around us may limit our ability to celebrate each tree we come across individually when Tu’Bishvat starts this weekend, driving through the farmland around Texas helped me focus on one specific variety to celebrate on the chag: the pecan tree.

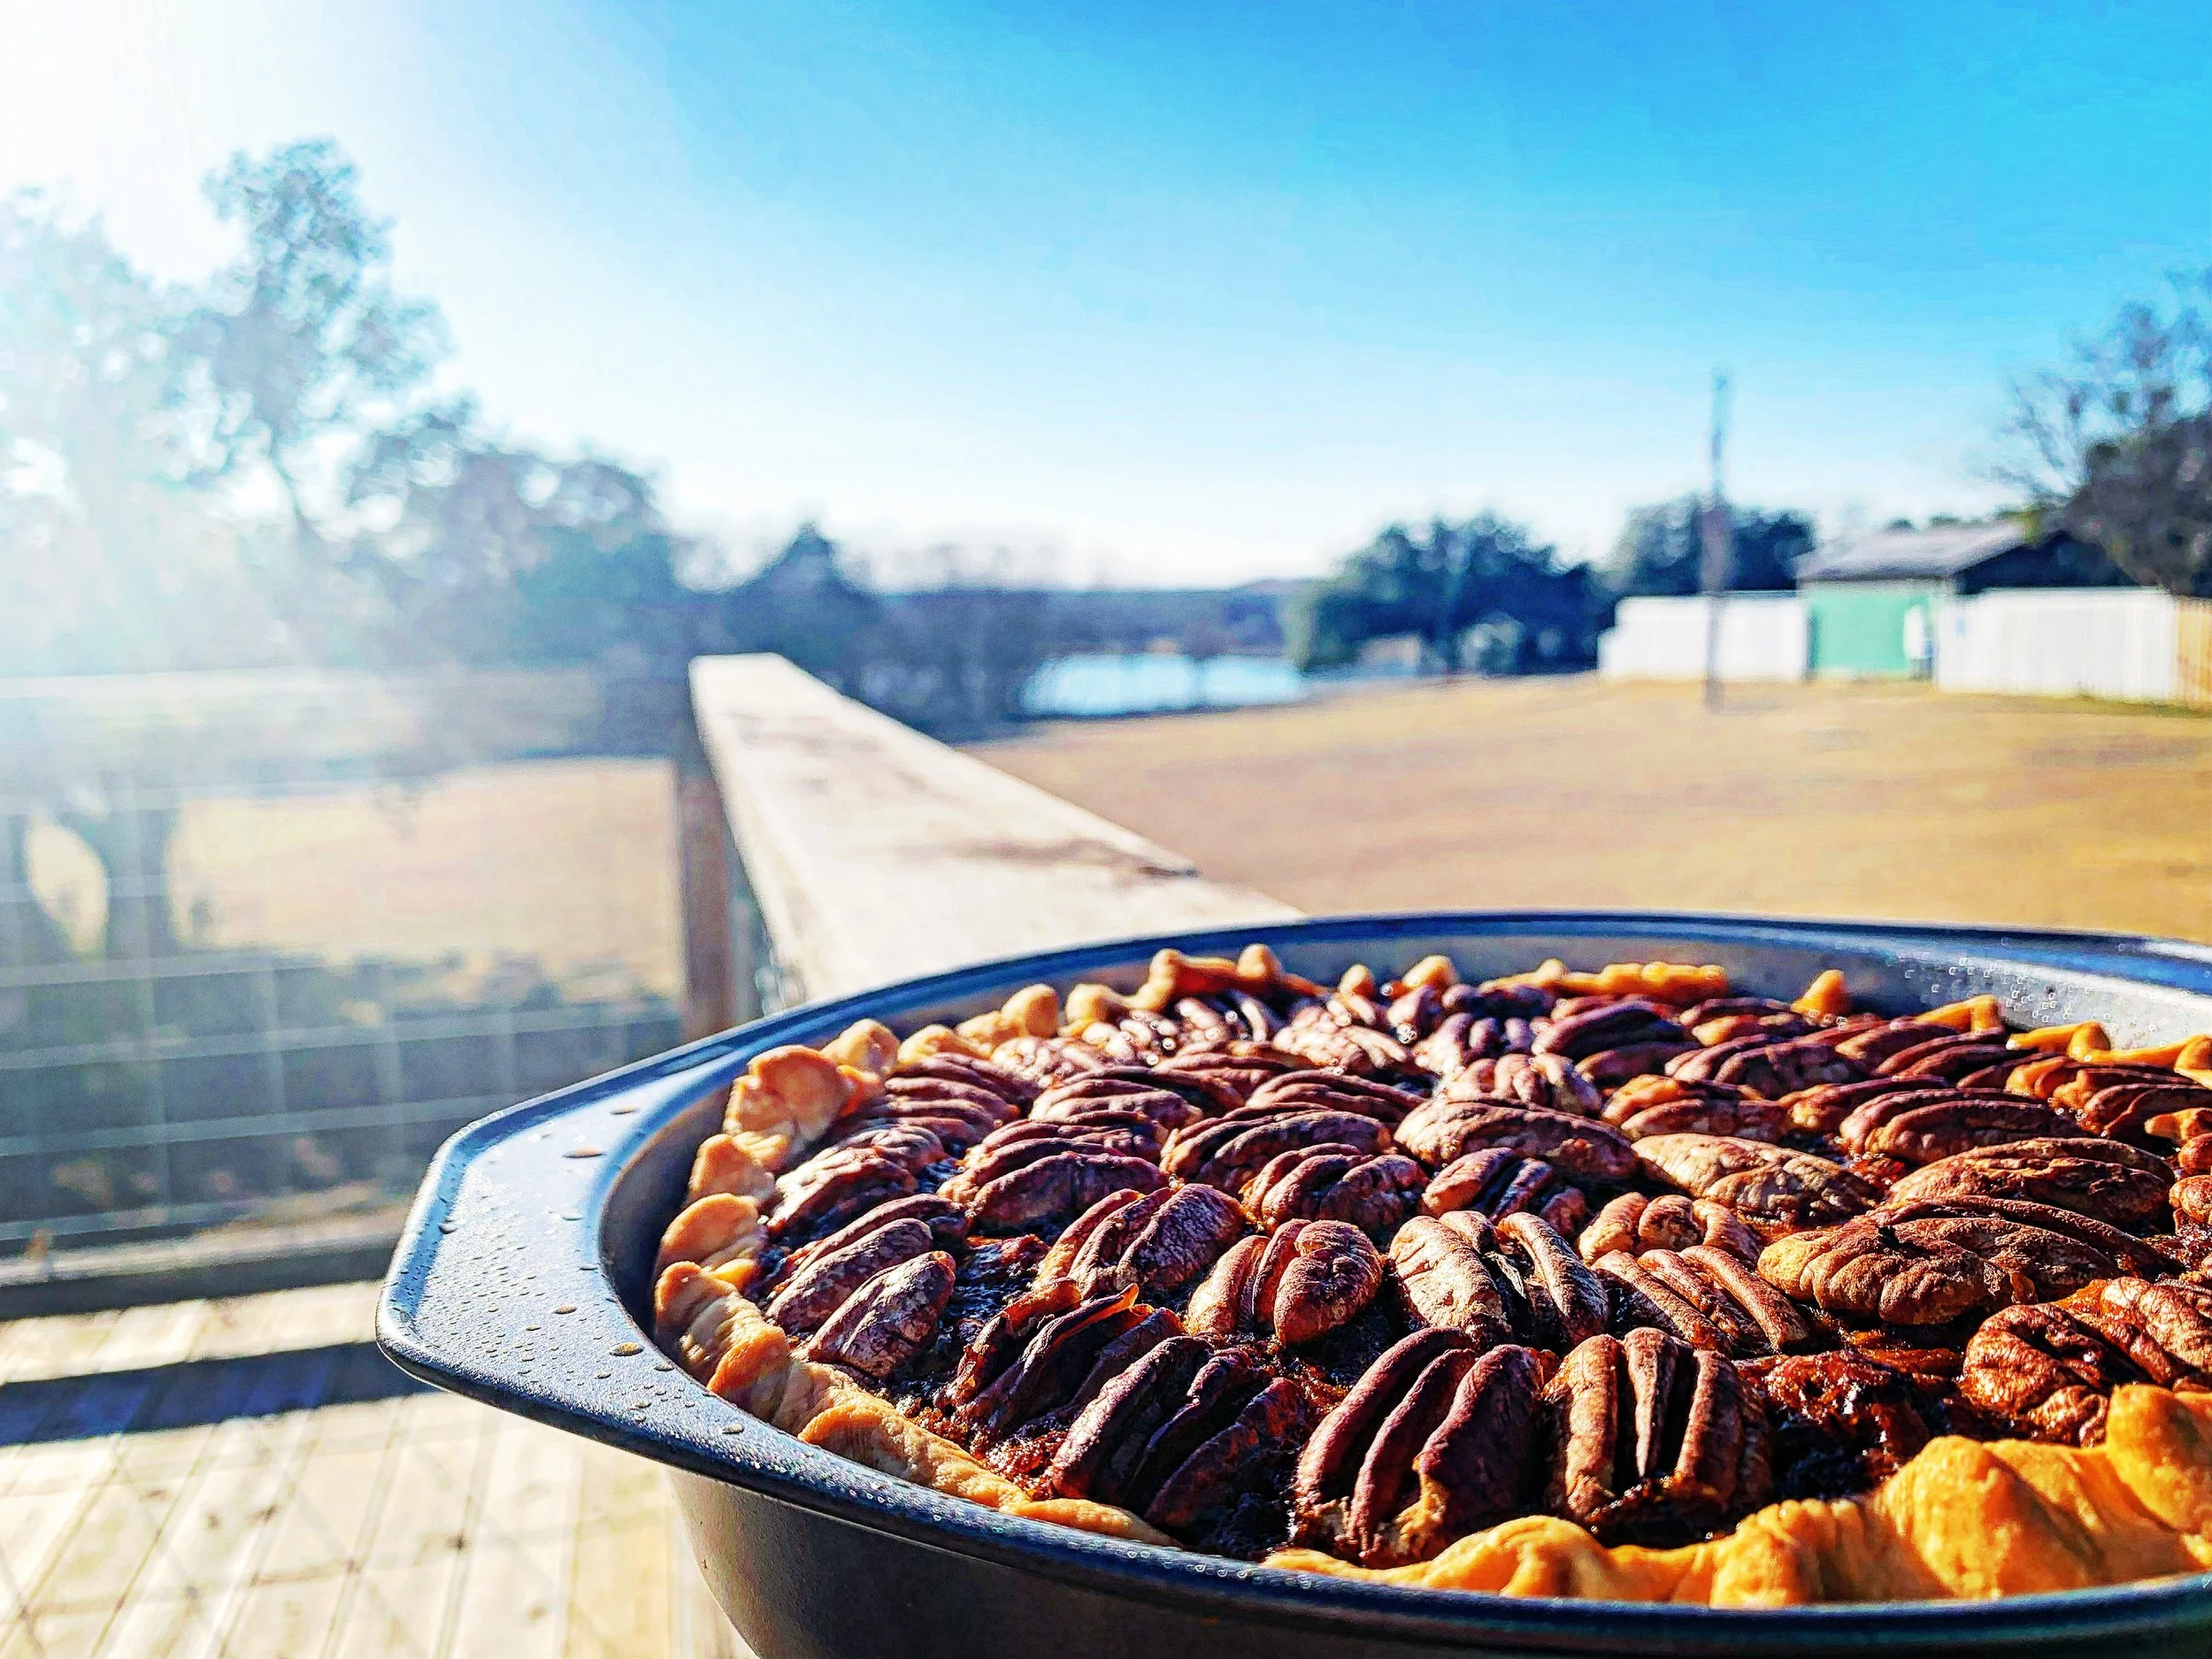
The pecan tree is the state tree of Texas; we produce over 37 million pounds of nuts (or over ten percent of total US production).  Pecan wood is also one of a few prized varieties for Texas’ famous BBQ smoking. Greene is lucky enough to have a number of family pecan farms close by – I visited Russel’s Pecans, just outside of Waco, to go a bit nuts about Texans’ favorite nut.

In 1578 a Spanish explorer named Cebeza de Vacas shipwrecked on Galveston Island and was rescued and befriended by the Karakawa tribe of indigenous Americans. They showed him, among other things, the nut trees that flourished along the rivers that flowed from further inland. The trees seemed to grow even stronger during the regular seasonal flooding the rivers and streams experienced, and the fruit of the tree, which when cracked produced what we now know as pecans, was so abundant that as indigenous people (and later, explorers) made their way upstream they could hold out nets and bring in large batches very easily. 

The fruits were easy to crack and the nuts were delicious even raw. Coupled with the tree’s locations near waterways, indigenous peoples quickly adapted to harvesting as they traveled on trading routes and they became a key component of tribes’ bartering system.  The word Pecan comes from an Algonquin tribe word pacane (meaning nut that requires a stone to crack), an incredible indicator of the range of travel of the pecan trade, given that the Algonquin tribes were indigenous to Canadian land.

Some more fun facts about Pecans!

·       It takes about 10 years for a pecan to reach maturity and start producing nuts. After it reaches maturity, A tree can produce pecans for up to 100 years, and can live for an additional 200 years after that.

·       Pecans are some of the largest trees that live in North America – they can grow over 100′ tall and 75′ wide, and can grow up to 24″ in a single year.

·       Technically, pecans are not actually a nut. They are considered a drupe: a fruit with a stone pit surrounded by a husk. The portion you eat is the pit - much like a peach has a stone pit.


Having grown up in the north with its prolonged winters and cool summer nights not ideal for pecan tree growth, I did not experience the joy of seeing the delightfully simple method pecan farmers use to harvest their crop until we moved to Dallas a few years ago – if you haven’t seen it, take a moment to embrace a small joy of the universe.

Pecan Pie

Lightly adapted from The Smitten Kitchen

Ingredients

Crust
1 1/4 cups (155 grams) all-purpose flour
1 1/2 teaspoons (6 grams) granulated sugar
1/2 teaspoon (3 grams) fine sea or table salt
1 stick (115 grams) cold unsalted butter, cut into chunks
1/4 cup very cold water, plus an additional tablespoon if needed

Filling
6 tablespoons unsalted butter
1 cup packed dark brown sugar
3/4 cup golden syrup or corn syrup
A pinch or two of sea salt
2 cups pecan halves
1 teaspoon apple cider vinegar
1 tablespoon bourbon (optional)
2 teaspoons vanilla extract
3 large eggs

Upgrade Option Number 1: Golden Syrup

The US is really behind in the international syrup race.  Corn Syrup, used in pecan pie because it is an invert sugar that prevents the pie from crystallizing, is sweet but really tastes like nothing. England is way ahead of the game, where golden syrup, a lightly toasted cane sugar syrup, is still an inverse sugar, but comes packed with carmel flavor that requires no additional work outside of clicking “order” on the Whole Foods website.

Procedure

  1. Make the pie dough:

    1. In the work bowl of a food processor, combine flour, salt and sugar. Add butter and pulse machine until mixture resembles a coarse meal and the largest bits of butter are the size of tiny peas.

    2. Turn mixture out into mixing bowl. Add 1/4 cup cold water and stir with a spoon or flexible silicone spatula until large clumps form. Use your hands to knead the dough together, right in the bottom of the bowl. If necessary to bring the dough together, you can add the last tablespoon of water.

    3. Wrap dough in a sheet of plastic wrap and refrigerate for at least one hour, or up to 48 hours, or you can quick-firm this in the freezer for 15 minutes. Longer than 2 days, it’s best to freeze it until needed.

    4. On a floured counter, roll the dough out into a 12 to 13-inch circle-ish shape. Fold dough gently in quarters without creasing and transfer to a 9-inch pie plate. Unfold dough and trim overhang to about 1/2-inch. Fold overhang under edge of pie crust and crimp decoratively. If not parbaking, place in fridge until ready to fill.

    5. Pre-heat the oven to 350 (or 400, see upgrade option 1 below)

Upgrade Option Number 2: Par-bake the crust

If, like noted challah-baker Paul Hollywood, you despise a soggy bottom, you can par bake your crust in the pan for a crispier and more caramelized crust. Heat oven 400°F (205°C). Line frozen crust with lightly buttered or oiled foil. Fill with dried beans. Bake on a rimmed baking sheet for 20 minutes. Carefully remove foil and weights and let cool a little before filling. Reduce oven heat to 350 to bake the actual pie.

Upgrade Option Number 3: Toast the Pecans

Toasting nuts releases natural oils, intensifying the flavor and making the nuts more crispy. I personally like my pecans a bit softer for pie, but toasting pecans ahead of baking also upgrades the buttery pecan flavor, so decide whats best for you! Spread pecans on a rimmed baking sheet and toast in the oven for 10 to 12 minutes, stirring once or twice so that they toast evenly. Set aside until needed.

Make the filling:

  1. In medium saucepan, combine butter, brown sugar, golden syrup and pinch of salt. Bring to a simmer over medium heat and cook for 2 minutes, stirring.

  2. Remove from heat and stir in pecans, cider vinegar, vanilla and bourbon (if using). Pour into a bowl (so that it cools faster) and set the mixture aside to cool a little, about 5 to 10 minutes. Then, whisk in the eggs until combined. Pour mixture into prepared pie shell.

  3. Bake For 40 to 45 minutes. The pie is done with the edges are set and puffed slightly and the center is slightly firm to the touch but still has some jiggle to it. Cool on a rack. Serve slightly warm or room temperature

1 Comment

Roasted Chile Queso

Comment

Roasted Chile Queso

I’ve only been married a bit over a year, but I have a pretty strong take on what it takes to have a lasting relationship: treat your marriage like a constant competition.

I hear you protesting already. “Marriage is a partnership!” you cry, “You’ll never survive tallying relationship points!”  

Granted, marriage is not a large game of tit for tat.  Keeping track of how many times you’ve emptied the dishwasher versus her will always end badly (I would lose that one anyway). What I mean is that I wake up every single day secure in the knowledge that my wife is FAR ahead of me in terms of what she brings to the relationship, and the lead is growing. Every time she reminds me that I wanted to pick up batteries at the store, or remembers that it’s my Aunt’s birthday, or figures out how we can afford that trip to that Michelin-starred restaurant I’ve had my eye on, the gap on the scoreboard grows. So every day I try to put some points on the board to stop it from getting into a Globetrotters-Generals situation.

When I look back on the first time my wife started winning our relationship, I trace it back to a fateful night early in our courtship when she incredulously and patiently explained the concept of “Queso” to me. To that point, I pretty exclusively dipped my chips in salsa - I was a latecomer to the avocado revolution, but I rocked guac occasionally as well. My only knowledge of queso was the questionable Tostitos cheese sauce that I was deeply suspicious of because honestly what cheese product doesn’t need to be refrigerated.

And the first time I coated a chip with real queso and put it to my lips? My life changed forever  for the better. All because I had the sense to fall in love with a sweet genius from Texas, homeland of Queso. And the scoreboard read: Mrs. Belly 1, Mr. Belly 0.

For the uninitiated, Queso (Formally  “Chile Con Queso,” but who wants to be formal when there is a bowl full of creamy cheesy goodness to inhale?) is a tex-mex staple that, in it’s simplest form, takes processed cheese sauce (think Velveeta), adds in peppers, and heats to molten. The texture is pleasingly thick and smooth, the flavor decadently cheesy, cut with heat from the peppers.  

I, being a snob, turn my nose up at the Velveeta and canned pepper simplicity of Queso’s heritage. It’s not bad, per se; I have munched happily on my fair share of this exact style.  What I propose below is simply that by borrowing the greatest gift of french cooking (Bechamel sauce), a more flavorful, cheesier, all around better Queso is achievable.

Roasted Chile Queso

Ingredients

  • 2 Tbsp, butter

  • 2 tablespoons all-purpose flour

  • 1 cup whole milk (plus more if needed for thinning)

  • 1 Tbsp. garlic, minced fine

  • 1/2 cup roasted, chopped, Hatch green chiles (Poblanos will work as a substitute)

  • 1/2 tsp. salt

  • ¼ tsp. ground cumin

  • ¼ tsp. cayenne pepper

  • 1 cup shredded Monterey Jack cheese

  • 1 cup shredded cheddar cheese

Procedure

  1. In a medium saucepan, melt the butter over medium heat, until it has almost stopped bubbling but before it browns.

  2. Add the flour to form a roux. Stir constantly 1-2 minutes, until flour and butter are totally combined and there is a faint nutty odor to the paste.

  3. While whisking, add the milk slowly.

  4. Add the chopped peppers, garlic, and spices. Cook 3-5 minutes, whisking constantly, until the milk thickens slightly and just barely coats the whisk. If you accidentally over thicken, add 1 tablespoon of milk at a time and whisk until it achieves the correct texture.

  5. Turn the Heat to low. Add the cheese ½ cup at a time, whisking constantly.

  6. Garnish with your choice of avocado, fresh peppers, cilantro, and limes. Serve with Chips.

Comment

Buttermilk Biscuits

Comment

Buttermilk Biscuits

There was a time in my life where I prioritized obtaining drugs over most other things.

That included food, and so for a while my diet consisted primarily of an odd bread substitute that I made myself.  The recipe was just flour (cheap) and water (free), which I mixed together in haphazard ratios, rolled flat on a baking pan, and baked until it was brown. It tasted, as you might expect, pretty terrible. I spread honey and butter when I could afford them on the faux-bread to try to improve the situation, which was the culinary equivalent of trying to make a turd smell better by dropping a rose on top of it. Beyond not tasting great, It was not particularly filling - I remember thinking that this was not unlike the food I imagine medieval prisoners eating. It felt like an apt punishment for the lifestyle I had created for myself.

I have slowly moved past being angry at myself for that lifestyle, in the way each of us must grapple with our own youthful indiscretions. I remain furious, however, that I didn’t spend five minutes googling “how to make bread without yeast” or at a bare minimum “flour and water bread,” both of which would have yielded plentiful results for how to properly cultivate a loaf of sourdough. I definitely had the internet, and more than enough time to devote entire days to the cultivation of wild yeast, and yet I continually gnawed at this pitiful pita substitute for months and months.

I found my way to this new and wonderful version of my life by learning to love myself. I learned to love myself by learning to accept the love of my friends and family.  Cooking for people, even something as small and simple as a biscuit, continues the grand traditions of community and togetherness that gathering around a table to eat has always signified.

All of this is a long way of saying that simple ingredients can be incredibly delicious if cultivated properly. Nowhere is that more evident than in bread, and more specifically in buttermilk biscuits, which in my humble opinion are the pinnacle of American bread tradition. I’ve never had a good buttermilk biscuit that needed more than eight ingredients, and I’m going to argue below that you really only need five. I love buttermilk biscuits because they are easy to make and hard to make well.  I love them because you can taste the love that goes into a good one.  I love them because you can’t mass produce good ones, no matter what those mad scientists at Pillsbury might tell you. They represent the sort of flourish on a meal that I fall head over heels for.

My buttermilk biscuit recipe is not a family recipe, as so many are.  Rather, it’s an amalgamation of Sean Brock’s, Alton Brown’s, Dan Delaney’s, and my own experimentation. I didn’t grow up with may family recipes, which I sometimes feel a bit sad about, but in the case of biscuits, I really think the trick is making a few recipes that you find, figuring out which feels the best to you and making it your own.

Buttermilk Biscuits

Ingredients

  • 4 cups White Lily self-rising flour*
  • 1 1/2 cups buttermilk
  • 1 stick (8 Tbsp) Unsalted Butter, as cold as possible
  • 1 Tbsp. Granulated sugar
  • 2 tsp. Baking Powder
*You can substitute the white lily flour for 3.5 cups all purpose flour + 3 tablespoons baking powder and ½ teaspoon baking soda

Procedure

It is essential as you go through this process that the butter remain as cold as possible until it goes in the oven.  Handle the dough as little as possible, and refridgerate the dough if you fear the butter is in danger of melting completely.
  1. Preheat the oven to 425 degrees.
  2. Sift the flour, sugar, and baking powder into a large mixing bowl.
  3. Chop the butter into small pieces.  Add the butter into the dry ingredients, smushing it into smaller pieces with your fingers as you coat them in the flour mix. The pieces of butter should end up about the size of a pea. Add a big pinch of salt and black pepper.
  4. Make a well in the center of the butter/flour mix and add the buttermilk. Using your hands or a spatula, mix the flour into the buttermilk. Depending on how thick the buttermilk is, you may have to add more buttermilk or flour.
  5. Once the dough is just combined, powder a cutting board with flour and dump out the dough. It should fall out in one mass.
  6. Knead gently, adding flour to the board as needed. Roll the dough out to about ½ inch thick. Cut the dough in half, place one half on top of the other, and roll out again.  Repeat this process 3 times.  On the third time, gently pat out the dough to approximately 1 inch thick.
  7. Butter your baking pan. Punch out the biscuits with a ring mold or thin-lipped cup coated in flour. The biscuits should barely touch on the pan and be roughly ½ inch apart from each other.
  8. Spread a tiny bit of melted butter on top of the biscuits. Cook in the oven at 425 degrees for 15 minutes or until golden brown on top.

Comment

Elsie's Best-Ever Chocolate Chip Cake

1 Comment

Elsie's Best-Ever Chocolate Chip Cake

How do I explain my mother’s chocolate chip cake?

I could tell you how every bite pulls me to memories from each year of my life.  That when I press it to the top of my mouth I am standing simultaneously in every moment that I have ever done that exact thing. How I can feel the sweet summer air and the coldest winter nights as I touch it to my lips.  Or how I can feel my mother standing behind me as I make it, conspiring with me to save a little batter to spatula directly into our mouths.

I could tell you that I still take a big gulp of milk after I eat a slice, and use the sleeve of my shirt to wipe off the ensuing milk mustache. Because a part of me is still an eight year old boy, and the world can still be full of wonder.

I could tell you that I still see the walls of the hospital room where she died sometimes when I close my eyes.  Pink and white.  Shiny with inoffensive sterility.  The room always felt empty to me, even at the end, when it was littered with hundreds of flowers, cards, people.  I can’t help but cringe as I type out the saccharine truth: the cake fills every inch of that emptiness.

The wedding cake wasn’t always going to be this cake, but once it was, it didn’t make sense to do anything else. There are practical reasons why – I successfully made the 2 layer beast at the top of this post in under 2 hours of total labor, and early testing showed it retaining a moist and delicious cake-y-ness for a full week when properly refrigerated.

It also happens to be the only true “family recipe” that I am in possession of.  Family recipes run so counter to the way that I think of cooking and food at the moment – I really only get excited about new recipes from well respected chefs, or flights of fancy that I dream up.  I tend to view old family recipe books as historical documents or jumping off points for new recipe ideas. (A recently found recipe for Lo Mein in my Grandmother’s recipe card box recommended placing spaghetti noodles in an oven to attain the desired brown color for the noodles.)  Ok, I’m a bit of a food snob, but there is something larger; I’m not precious with my cooking – regardless of how well a dish comes out I am on to the next thing to try immediately.  Preserving my recipes for later (let alone future generations) feels silly.

And yet this recipe beguiles me after even the thousandth cake.  As opposed to literally every other recipe I use, I don’t make any alterations at all – why mess with perfection? I still haven’t found a cake that is more wholly satisfying of an eating experience – it has the pleasant heaviness of a corn bread, but retains a spongy springiness of a classic yellow cake as you bite into it.  The shaved chocolate adds a really excellent dark sweetness at the back of your tongue that accents the wonderfully moist buttery vanilla partying at the front of it.

There are details to iron out – I’d like the cake to be a bit prettier overall.  I also removed the chocolate chips in the original recipe in favor of chocolate icing in between layers, a decision that I am not certain of.  There are still months to go and I have made great progress in these 6 attempts.  But I feel like we’ve crossed a threshold now: I’m going to make this cake for our wedding and I feel happy and safe about that.

I can’t believe that I’m getting married.  I still feel like a kid so often – evening eating this cake I always feel like I’m stealing a piece because I haven’t asked permission (or waited until after dinner so I don’t spoil my meal). The fourteen years that have gone by since Hanna left us feel impossibly short and incredibly long at the same time – my life is so completely different now than it was then.  For years I was paralyzed – the fear of leaving Rochester, of leaving my connections to her, somehow being a betrayal of my love for her.  Instead as I grow and change I feel her presence more than ever.  I know truly in my heart how much she would love Leslie – She would love Leslie’s strength, independence, and smarts, and treasure how Leslie cares for me, protects me, picks me up when I fall.

There was some time when we didn’t make this cake, after Hanna died.  When we tried, my dad and I agreed that despite the fact that we had followed the instructions to a T and exactly as we remembered Hanna doing it, it was coming out overly dry and not nearly springy enough.  At the time we blamed it on our missing Hanna, but I now believe it was because we were over mixing the batter.  There was a lot that I used to blame on Hanna passing – but so much that I am grateful for has happened since she left us that it grows hard to blame her death for anything. The person that I am today is shaped by both my mother’s life and my mother’s death, for better and worse.

I’ve been pestering my dad recently with many questions about my mom, and about us, and about being young and starting a family and the future and on and on.  My mind has been on this family and life I’m about to take part in, and how I can plan, and what I can do to get ready.  My dad laughs at me.

“Eli, all of this wasn’t in any of my plans for us.” He says. And we smile, because there’s nothing else you can do, really, and we have been blessed with years of Hanna’s life, and we are blessed with her memory now, and we are blessed to be together and to have found people who care for us.  We are lucky.

The cake also teaches me not to take myself to seriously – this great delicacy that I hold in such high regard is made from Duncan Hines and Jell-O mixes, after all.  Sometimes when I get frustrated that I don’t have the time to get out to the obscure butcher in Bushwick to get the kind of smoked sausage that would really accent this dish perfectly I think of this cake and smile and think of how the most wonderful things can come from unexpected places.

Elsie's Chocolate Chip Cake

Ingredients

1 Package, Duncan Hines Yellow cake mix
1 Package, Jell-O Vanilla Instant Pudding
1/3 cup, Vegetable Oil
1 cup, Water
4 Eggs
1 12 oz. Bag, Chocolate Chips
1 bar, German sweet chocolate, grated

Procedure

  1. Preheat oven to 350 degrees.  Butter two 8×8 pans or one 9×13 pan.
  2. Mix cake mix, vanilla pudding pkg, oil, water, and eggs together with a wisk, stopping when the batter is smooth.  Do Not over-mix.
  3. Fold the bag of chocolate chips and half the grated chocolate into the batter.  Mix gently until thoroughly combined.
  4. Bake 40 minutes for 8×8 pans, 35 minutes for 9×13. (Check to make sure the cake is done by inserting a knife in center. If the knife comes out clean, the cake is done.) Let the cake cool for a while- but while the cake is still warm, sprinkle other half of grated chocolate over top of the cake.

1 Comment